


How to Lay Granite Setts — Complete UK Installation Guide
Granite setts are one of the most durable paving materials you can lay — but they're also one of the least forgiving if the installation isn't done properly. A well-laid granite sett driveway will last 50+ years without issues. A poorly prepared one will start shifting within two winters.
This guide covers the full process from excavation to jointing, with UK-specific advice on sub-base depths, mortar mixes, and drainage requirements.
Before You Start: What You'll Need
Materials
Granite setts — order 10% more than your calculated area to allow for cuts, breakages, and future repairs. MOT Type 1 aggregate for the sub-base. Sharp sand and cement (4:1 mix) for the mortar bed. Jointing compound — we recommend a brush-in resin mortar (GftK VDW 800, Romex, or similar) for the most durable, weed-resistant result. String lines, timber pegs, and a spirit level. Rubber mallet and a plate compactor (hire if needed).
Planning considerations
Check whether you need planning permission. In England, driveway projects over 5m² at the front of your property require either permeable surfacing or drainage to a permeable area — granite setts with resin-jointed joints are impermeable, so you'll need to include drainage provisions or use permeable jointing. Side and rear garden projects generally don't require permission. Always check with your local authority.
Step-by-Step Installation
Step 1: Excavation
Excavate the area to the required depth. For a standard patio or path with foot traffic only, excavate to approximately 200mm below finished level. For driveways, excavate to 250–300mm to accommodate a deeper sub-base.
The breakdown of layers from bottom to top: compacted sub-base (150mm minimum for paths, 200mm for driveways), mortar bed (30–40mm), and setts (50mm for standard applications, 100mm for heavy vehicle areas).
Remove all topsoil, organic matter, and soft spots. If you hit clay or waterlogged ground, you'll need to excavate deeper and consider additional drainage.
Step 2: Sub-base preparation
Lay MOT Type 1 aggregate in layers of no more than 75mm and compact each layer with a plate compactor before adding the next. Build up to a minimum of 150mm (paths) or 200mm (driveways) total compacted depth.
The sub-base must be level and firm — you shouldn't be able to push a heel into it once compacted. Maintain the correct fall (minimum 1:60, or roughly 17mm per metre) away from buildings and towards a drainage point.
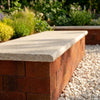
Step 3: Edge restraints
Install edge restraints before laying the main field of setts. You can use the granite setts themselves as the edge course (laid on a concrete haunch), timber edging, or proprietary edge restraint systems.
For driveways, a concrete haunch (100mm wide, 100mm deep) behind the perimeter setts is essential to prevent the edges from spreading under vehicle loading. For garden paths and patios, a mortar haunch is usually sufficient.
Step 4: Laying the mortar bed
Mix a semi-dry mortar at a 4:1 ratio of sharp sand to cement. The consistency should be firm enough to hold its shape when squeezed — not sloppy. Spread the mortar bed to an even thickness of 30–40mm across the area you're working on. Only spread as much as you can lay setts into within 30–45 minutes, before the mortar starts to set.
For driveways under regular vehicle traffic, some installers use a stronger 3:1 mix. For pedestrian-only areas, 4:1 is fine.
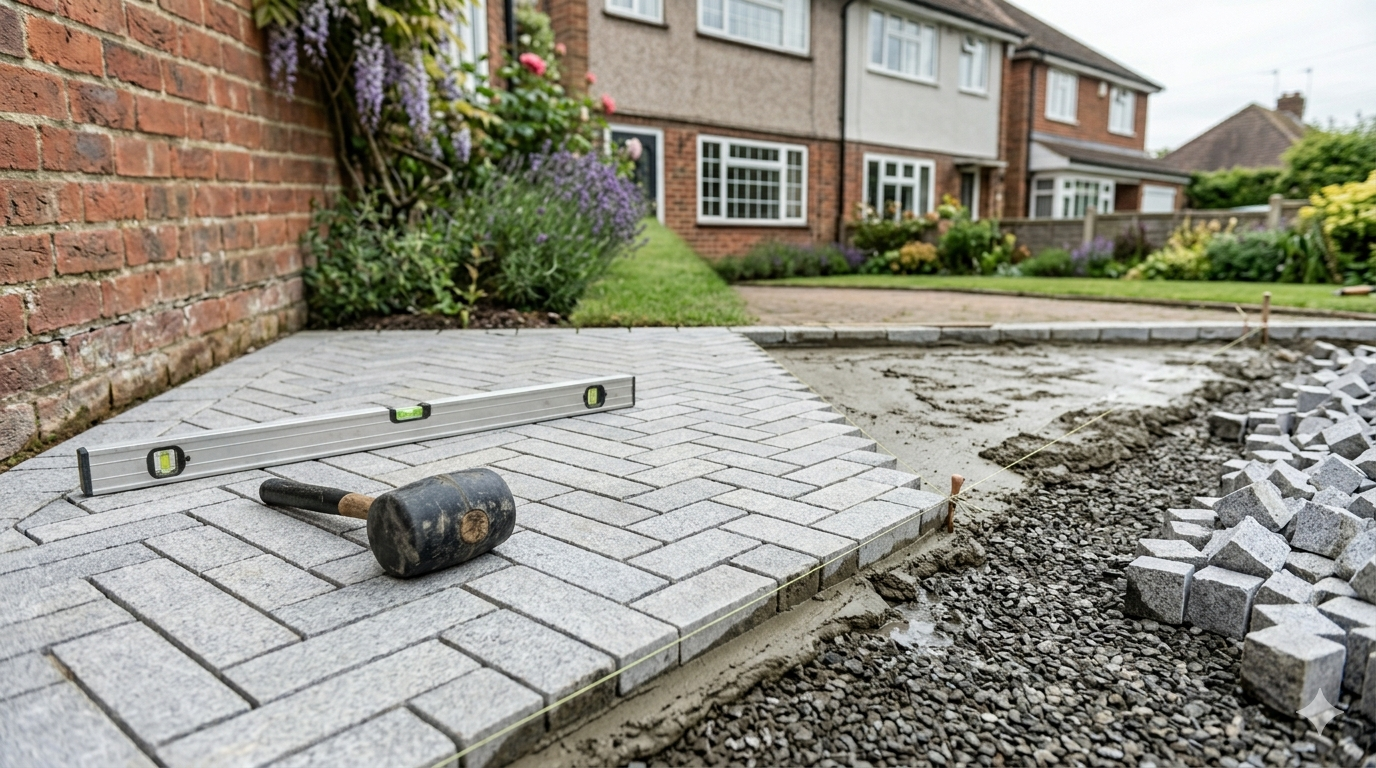
Step 5: Laying the setts
Place each sett onto the mortar bed and tap it down firmly with a rubber mallet until it's level with the string line. Leave consistent joints of 10–15mm between setts — this is important both for the visual pattern and to allow proper jointing later.
Work from the edge inwards. Check levels frequently with a spirit level and adjust by adding or removing mortar beneath individual setts. Granite is a natural product, so you'll find slight variations in thickness between pieces — the mortar bed compensates for this.
For driveways, butter the back and sides of each sett with mortar as well as the bed. This creates a full mortar surround and prevents any movement under vehicle loading.
Step 6: Cutting
Granite is extremely hard and will quickly wear out standard masonry blades. Use a diamond cutting disc rated for granite/hard stone. A petrol-powered stone saw or a 230mm angle grinder with a diamond blade works best. Always cut outdoors with dust suppression (wet cutting) and wear appropriate PPE — eye protection, hearing protection, and a dust mask.
Mark your cut line with a pencil or chalk. Score the line first with a shallow pass before cutting through. Don't force the blade — let the diamond do the work.
Step 7: Jointing
Wait at least 24 hours after laying before jointing — the mortar bed needs to firm up first. The jointing method you choose significantly affects the longevity and maintenance requirements of the finished surface.
Brush-in resin mortar (recommended): Products like GftK VDW 800, Romex, or Ultrascape Flowpoint are pre-mixed and simply brushed into the joints, then misted with water to activate. They set hard, resist weeds, tolerate movement, and don't crack out like traditional pointing. More expensive than sand-cement pointing but dramatically reduces long-term maintenance. Allow £5–£10 per m² for material.
Sand and cement pointing: A traditional 3:1 or 4:1 sand-cement mix pressed into joints with a pointing iron. Cheaper upfront but more labour-intensive and prone to cracking over time, especially in driveway applications where there's movement and vibration. Needs periodic re-pointing.
Kiln-dried sand (not recommended): Often used with block paving but not suitable for granite setts. It washes out in heavy rain, provides no structural support, and allows weed growth almost immediately.
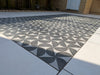
Laying Patterns
| Pattern | Best Sett Size | Best For | Difficulty |
|---|---|---|---|
| Stretcher bond (brick pattern) | 200x100mm setts | Driveways, long paths | Easy |
| Herringbone (45° or 90°) | 200x100mm setts | Driveways (best interlock) | Medium |
| Stack bond (grid pattern) | 100x100mm cobbles | Modern patios, courtyards | Easy |
| Fan / arc pattern | 100x100mm cobbles | Traditional, decorative features | Hard |
| Random coursed | Mixed sizes | Rustic, cottage-style paths | Medium |
For driveways, herringbone provides the best mechanical interlock under vehicle loading. The setts lock against each other, distributing weight across the surface rather than concentrating it on individual pieces. Stretcher bond is simpler to lay but doesn't interlock as effectively — it's fine for light vehicle use and paths.
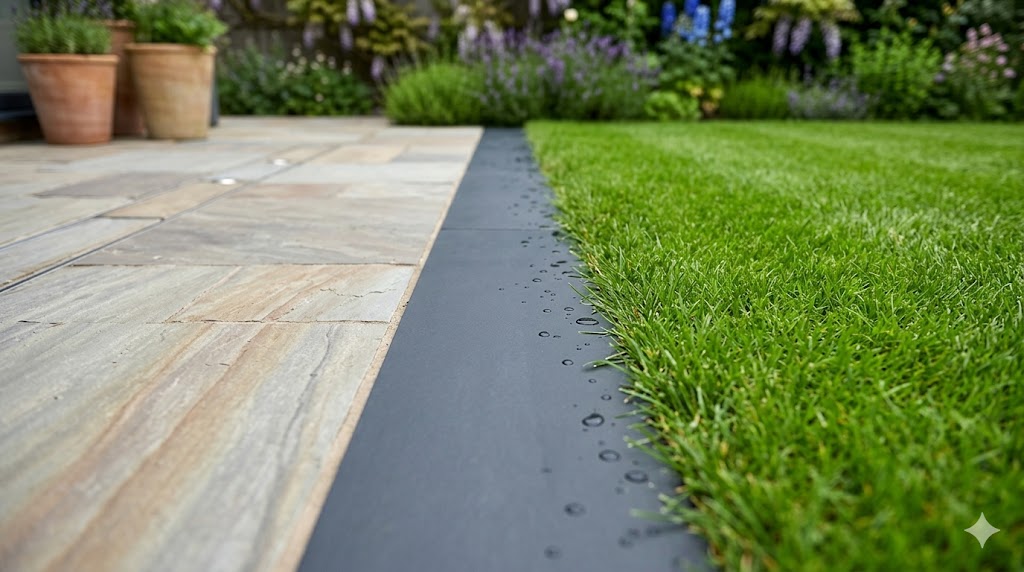
Drainage
Granite is virtually non-porous and resin-jointed granite setts create an impermeable surface. Surface water needs somewhere to go. You have three main options:
Fall to a drainage point: Maintain a minimum 1:60 fall across the surface towards a linear drain, aco drain, or soakaway. This is the most common solution for driveways.
Fall to a permeable area: Direct the fall towards lawn, planting beds, or gravel margins that can absorb the runoff. This may satisfy planning requirements for front garden hardstanding.
Permeable jointing: Use a permeable jointing compound that allows water to drain through the joints into the sub-base. This makes the surface technically permeable and may remove the need for additional drainage — check with your local authority.
Common Mistakes to Avoid
Insufficient sub-base depth. 100mm of loose aggregate is not a sub-base. You need 150mm minimum (200mm for driveways), properly compacted in layers.
No edge restraint on driveways. Without a concrete haunch, the perimeter setts will gradually spread outwards under vehicle loading, opening joints and destabilising the surface.
Joints too tight. Butting granite setts together with no gap looks neat initially but leaves no room for jointing compound. Without proper jointing, water gets underneath, frost heave loosens the setts, and weeds colonise the hairline gaps. Maintain 10–15mm joints.
Using the wrong mortar consistency. Too wet and the setts sink and slide. Too dry and they don't bond properly. The mortar should hold its shape when squeezed in your hand but not crumble apart.
Not checking levels as you go. Once mortar sets, repositioning setts is extremely difficult. Check every row with a spirit level and a string line. Small errors compound across a large area.
Laying in rain. Wet mortar doesn't bond properly, and rainwater washes cement out of the joints before they set. If rain is forecast, cover your work area or wait for a dry spell.
After Installation
Keep foot traffic off the setts for at least 24 hours and vehicle traffic off for at least 72 hours — longer if temperatures are low, as mortar sets more slowly in cold weather.
If using resin mortar jointing, follow the manufacturer's curing instructions exactly. Most require 24 hours without rain after application.
Once cured, granite setts need almost no maintenance. An annual jet wash at low pressure (not above 1500 PSI, or you'll blast out the jointing) keeps them looking fresh. Spot-clean any stains immediately — granite resists most stains, but prolonged contact with acids or strong chemicals can etch the surface.
Ready to Start Your Project?
Browse our granite setts range — silver grey flamed from £55.45/m², black handcut cobbles from £61/m², all with free UK delivery. We also stock sandstone setts and porcelain setts if you're still deciding on material. Order samples to see the stone in person before committing.