


How to Seal Indian Sandstone (And Whether You Should)
Should you seal your Indian sandstone patio? The honest answer is: it depends. Sealing isn't essential — millions of sandstone patios in the UK have never been sealed and look perfectly fine decades later. But sealing does offer real protection in certain situations, and understanding when it helps (and when it doesn't) saves you both money and effort. This guide covers the decision, the products, and the application process.
Do you actually need to seal Indian sandstone?
Sealing is optional, not mandatory. Indian sandstone has been used as a building material for centuries without sealers. The stone is naturally durable and weather-resistant. What a sealer does is reduce the stone's porosity — making it harder for liquids, stains, and organic growth to penetrate the surface.
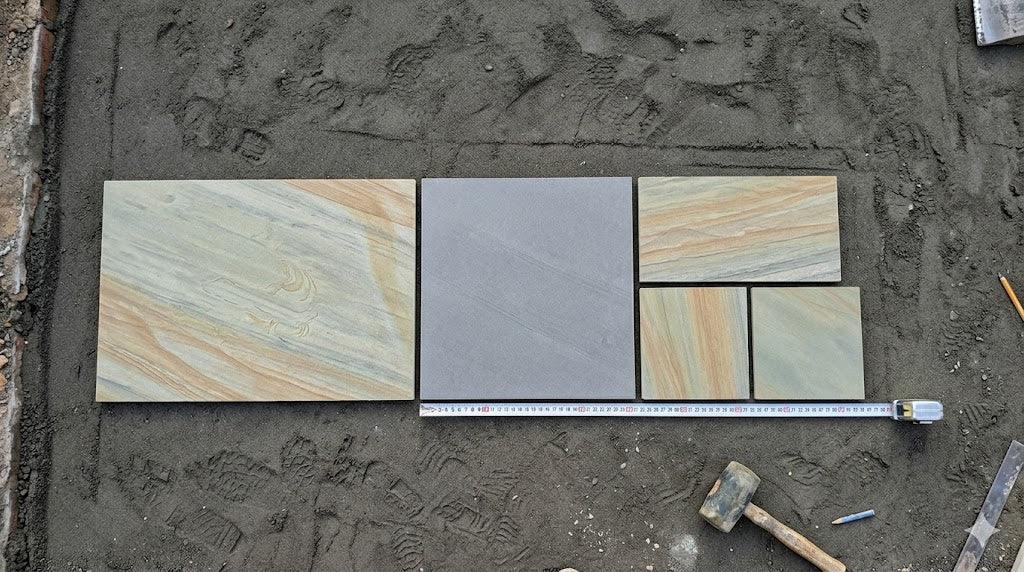
Seal if: your patio is near a barbecue or outdoor dining area where food and oil spills are likely. You have light-coloured stone (Fossil Mint, Rippon Buff) that shows stains more visibly. Your patio is shaded and prone to algae. You want to preserve the original colour as closely as possible rather than letting it weather naturally.
Don't bother if: you chose sandstone specifically because you want it to age and develop a natural patina. Your patio is in full sun with good drainage (algae won't be an issue). You have a darker sandstone (Kandla Grey, Autumn Brown) where stains are less visible. You simply don't want the maintenance of reapplying a sealer every 2–3 years.
Sealing is a convenience, not a necessity. It makes maintenance easier and protects against stains, but it doesn't make sandstone last longer — the stone will last decades either way. The decision is about how much maintenance you're willing to do, not about protecting the stone from failure.
Impregnating sealer vs surface sealer
This is the most important choice, and getting it wrong is worse than not sealing at all.
Impregnating sealer ✓
How it works: Penetrates into the stone and lines the pores from the inside. Water and oil bead on the surface rather than soaking in.
Appearance: No visible change. The stone looks exactly the same — dry, natural, unchanged.
Breathability: Allows moisture vapour to escape from beneath the stone. This is critical — trapped moisture causes efflorescence and frost damage.
Longevity: 3–5 years between applications.
Verdict: This is the right choice for outdoor sandstone. Always.
Surface sealer ✗
How it works: Creates a film on top of the stone that physically blocks water and stains.
Appearance: Changes the look — often adds a gloss or "wet look" sheen. Some people like this; others find it looks artificial.
Breathability: Traps moisture underneath. In outdoor applications, this causes white patches (efflorescence), peeling, and in winter, frost damage as trapped water expands.
Longevity: 1–2 years, then peels and needs stripping.
Verdict: Never use on outdoor sandstone paving. These are designed for indoor stone floors.
The "wet look" trap: Many homeowners buy a "wet look" sealer because the enhanced colour looks attractive in the tin. On an outdoor patio, these surface sealers trap moisture, peel within a year, and leave the patio looking worse than if it had never been sealed. If you want the colour enhancement without the problems, look for a "colour-enhancing impregnating sealer" — it deepens the tone slightly without creating a surface film.
When to seal: timing matters
Wait at least 12 weeks after installation. The mortar bed and pointing need to fully cure before you seal. Sealing too early traps moisture from the curing mortar inside the stone, which causes efflorescence (white salt deposits on the surface).
Seal on a dry day. The stone must be completely dry — not just surface dry, but dry through. Ideally, you want at least 48 hours of dry weather before sealing, and no rain forecast for 24 hours after. Moisture trapped under a sealer causes problems.
Avoid direct summer sun. Don't seal when the stone is hot to the touch. The sealer evaporates too quickly and doesn't penetrate properly. Early morning, late afternoon, or an overcast dry day are ideal.
Temperature: Most sealers work best between 5°C and 25°C. Check the product instructions for specific guidance.
Step-by-step: how to seal Indian sandstone
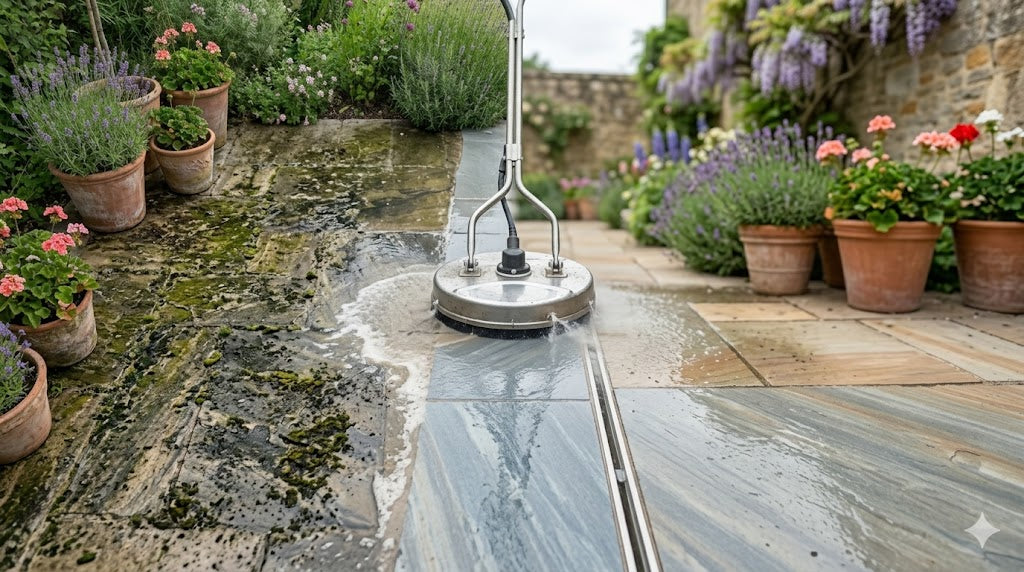
Clean the patio thoroughly
The sealer locks in whatever is on the surface. If you seal over dirt, algae, or stains, they're sealed in permanently. Clean the patio using the methods in our cleaning guide and allow it to dry completely — at least 48 hours of dry weather after washing.
Test on a hidden area
Apply a small amount of sealer to an inconspicuous slab — behind a planter, at the edge of the patio, or on a spare slab. Leave it 24 hours and check the result. You're looking for: no colour change (unless you're using a colour-enhancing product), no white haze, and water beading when you splash a few drops on the treated area.
Apply the sealer
Pour sealer into a paint tray. Apply with a medium-nap roller, a lambswool applicator, or a low-pressure garden sprayer. Work in manageable sections (2–3m² at a time). Apply a thin, even coat — the stone should look damp, not flooded. The sealer should soak in within a few minutes.
If it pools on the surface after 5 minutes, you've applied too much. Wipe up the excess with a lint-free cloth immediately — pooled sealer dries as a white haze that's difficult to remove.
Apply a second coat
Most impregnating sealers require two coats. Apply the second coat 2–4 hours after the first (check the product instructions). The second coat should be thinner than the first — the pores are already partially filled, so less sealer is absorbed.
Allow to cure
Keep the patio dry and foot-traffic-free for at least 24 hours after the final coat. Full cure typically takes 48–72 hours. Don't place furniture, plant pots, or anything else on the surface until it's fully cured.
Coverage: A 5-litre tub of impregnating sealer typically covers 15–25m² (two coats), depending on the porosity of your stone. Riven sandstone with a rougher surface absorbs more sealer per square metre than sawn sandstone. Budget around £30–50 per 5-litre tub.
How long does sealer last?
A good impregnating sealer lasts 3–5 years on a typical UK patio. High-traffic areas and patios that get heavy sun exposure may need resealing sooner. The easiest test: splash water on the sealed surface. If it beads up, the sealer is still working. If it soaks in, it's time to reseal.
Resealing is simpler than the first application — just clean the patio, let it dry, and apply one coat of sealer. You don't need to strip the old sealer (that's only necessary with surface sealers, which is another reason to avoid them).
What happens if you don't seal?
Nothing bad. The stone doesn't fall apart. It doesn't lose structural integrity. What happens is entirely cosmetic:
Colours mellow over time as the surface weathers. This is gradual and many homeowners consider it an improvement — the stone looks more settled and natural. Stains from oil, food, and organic matter are harder to remove because they penetrate the open pores more quickly. Algae and moss establish more readily on the porous surface, particularly in shade. The stone may darken slightly as it absorbs rainwater and minerals.
Many of the most beautiful sandstone patios in the UK have never been sealed. Unsealed stone weathers into the garden over time in a way that sealed stone doesn't. This is a genuine aesthetic preference, not a maintenance failure.
Choosing your sandstone
Whether you plan to seal or not, the first step is choosing the right colour and finish. Browse our full range — all in stock with free UK delivery.
Browse Sandstone Order SamplesFrequently asked questions
Should I seal Indian sandstone before or after pointing?
After pointing — always. The pointing needs to be fully cured (minimum 2–3 weeks) before you seal. If you seal before pointing, the sealer prevents the pointing compound from bonding properly to the stone edges. If you seal immediately after pointing, you trap curing moisture from the pointing compound.
Can I seal new sandstone straight away?
No. Wait at least 12 weeks after installation. The mortar bed needs to fully cure. Sealing too early traps moisture and causes efflorescence (white salt deposits). Patience here prevents a problem that's far harder to fix later.
Does sealing stop efflorescence?
No — in fact, sealing too early can cause it. Efflorescence is mineral salts being carried to the surface by moisture evaporating through the stone. If you seal while there's still moisture in the mortar bed, you trap it. Let the patio cure naturally, let any efflorescence appear and fade, then seal once the stone is fully dry.
How much does it cost to seal a patio?
For a DIY application, budget around £2–4 per m² for the sealer (two coats). A 20m² patio costs roughly £40–80 in materials plus an afternoon's work. Professional application adds £5–10 per m² for labour.
Will sealing change the colour of my sandstone?
A standard impregnating sealer should not change the colour at all. A colour-enhancing impregnating sealer will deepen the tones slightly — making greys richer and buffs warmer. Always test on a spare slab first to see the effect before committing to the full patio.